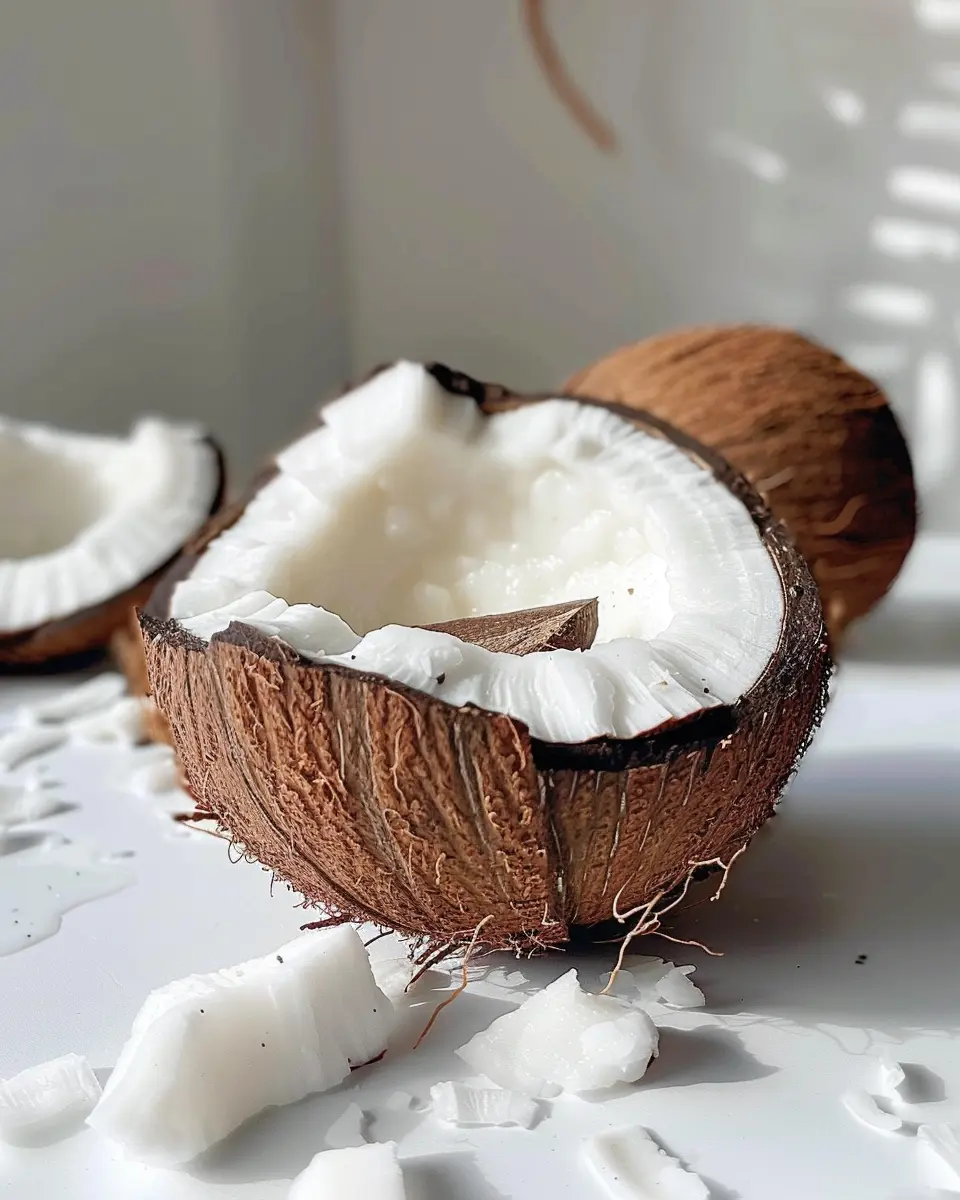
Introduction to Coconut Dome Delights
When you’re a young professional, balancing work, life, and leisure can sometimes feel like juggling flaming torches. Amid the hustle and bustle, it’s essential to find little moments of joy, and what better way to embrace those moments than with a homemade treat? Enter the coconut dome, a delightful fusion of flavors and textures that not only satisfies your sweet tooth but also brings a little sunshine into your day.
Why are Coconut Domes the Perfect Treat for Young Professionals?
Coconut domes are the perfect treat for several reasons. First and foremost, they are incredibly easy to prepare. With just a handful of ingredients, you can whip these up on a Sunday evening and have a week’s worth of snacks ready to grab on your way out the door. And let’s face it, when your week is packed with meetings and deadlines, having a sweet treat waiting for you can really brighten the day.
-
Nutrient-Rich Ingredients: Coconut, often hailed for its health benefits, offers natural fats that keep you satiated. It also provides dietary fiber, which is excellent for digestion. Research from Healthline shows that coconut’s properties can boost heart health.
-
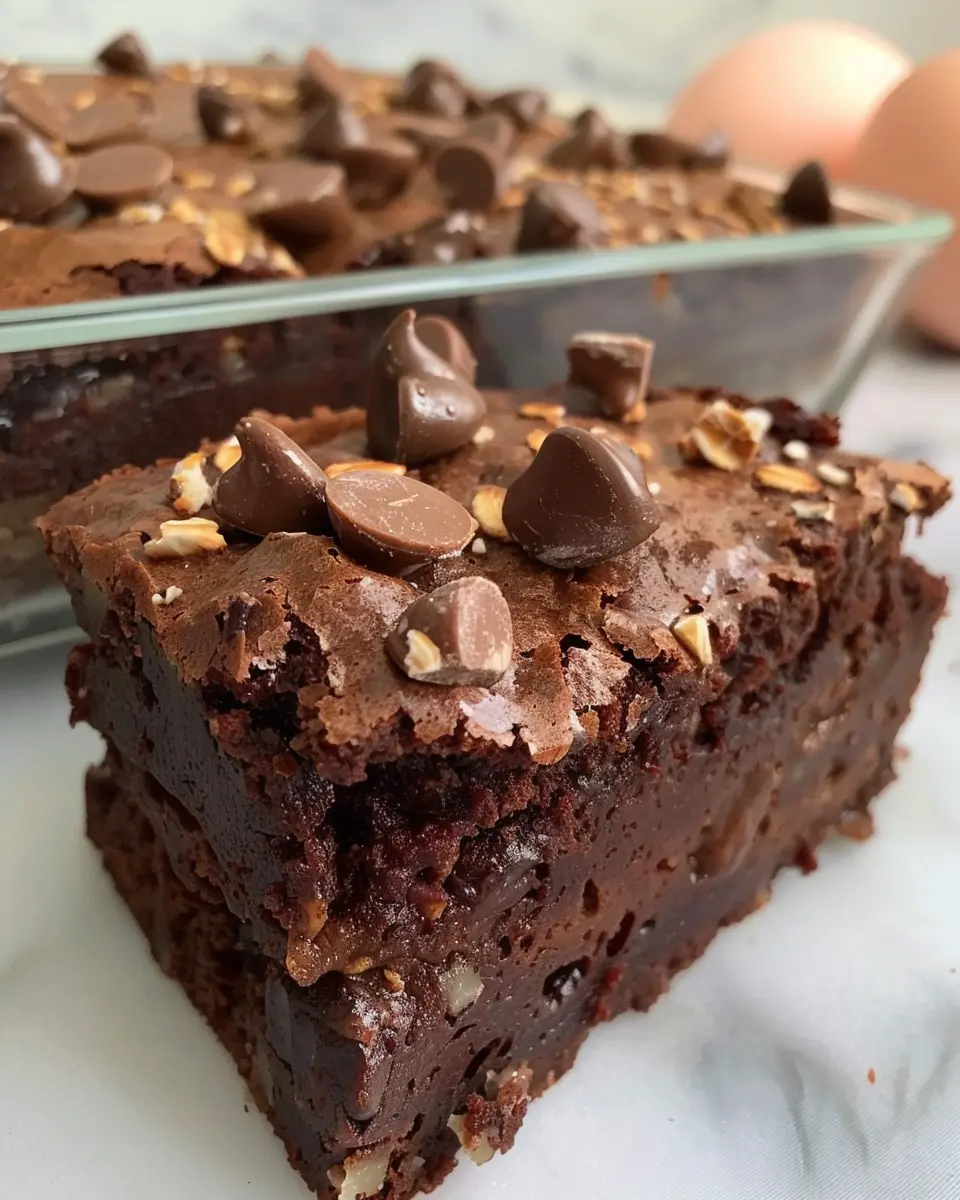
Versatile Flavor Profile: If you’re tired of the same old snacks, coconut domes can be customized. Want something extra? Add in chocolate chips, nuts, or even peanut butter for a flavor kick. You can truly make them your own.
-
Portable and Mess-Free: Unlike many desserts that require plates and utensils, coconut domes are simple to store and eat on the go. Whether you’re heading to the office or a weekend getaway, just pop one in your bag, and you’re set!
-
Guilt-Free Indulgence: Mindful eating is more important than ever. With coconut domes, you can indulge your sweet cravings without compromising your health goals.
So, kick back and relax as we dive deeper into the delightful world of coconut dome recipes. These treats will not only satisfy your cravings but also make your life just a bit sweeter amidst the busy chaos. Don’t forget to check out the full recipe for some delicious variations to keep your snacks exciting!
Ingredients for Coconut Dome with Chocolate Spread
Creating a delightful coconut dome requires carefully chosen ingredients that blend together to deliver that decadent experience we all crave. Let’s dive into what you’ll need!
Coconut Mousse Components
To craft the luscious coconut mousse at the heart of your coconut dome, gather the following:
- Coconut cream: Full-fat is best for a richer flavor.
- Gelatin sheets: Essential for creating that perfect set.
- Sugar: Just the right amount to sweeten without overpowering.
- Vanilla extract: For a lovely aroma and taste.
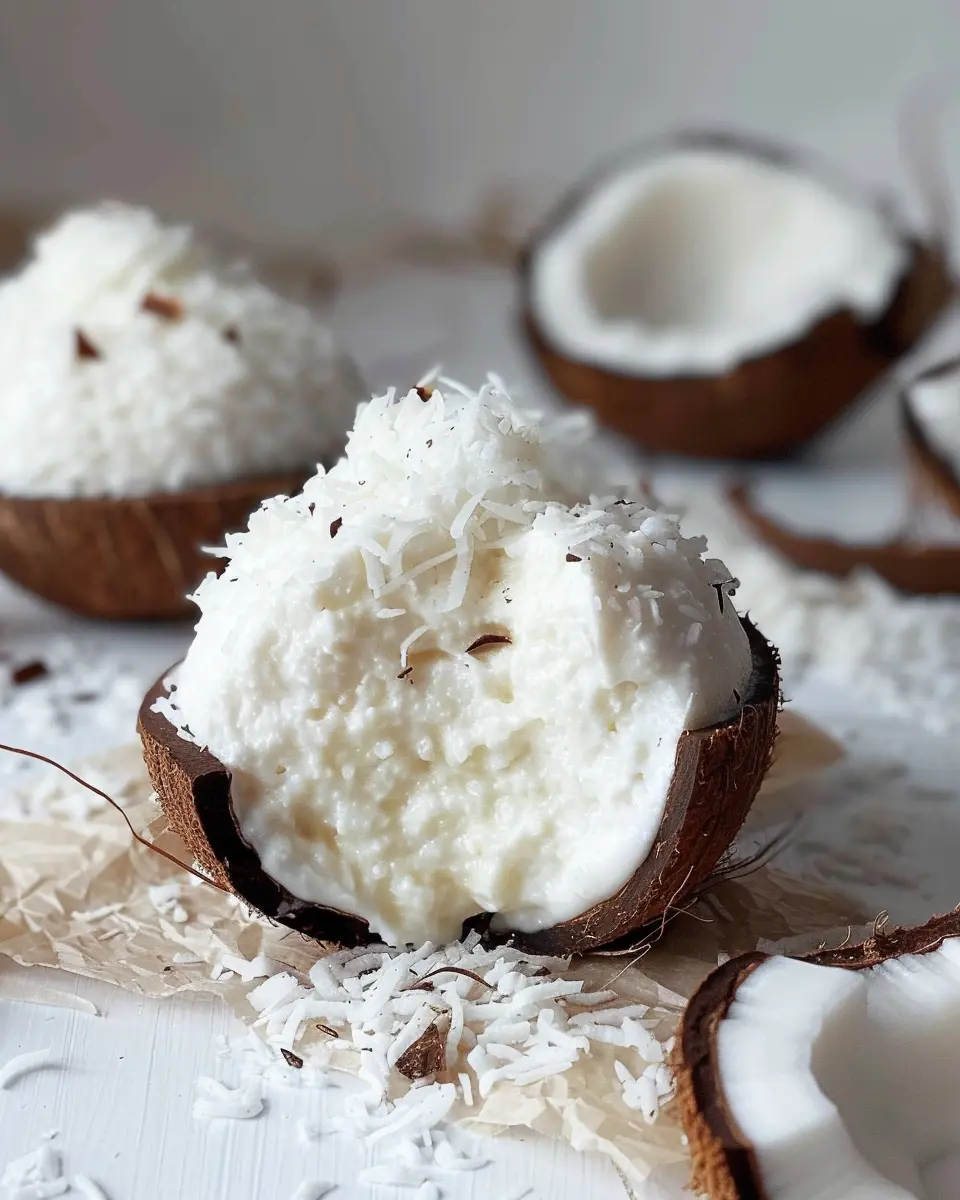
- Fresh coconut flakes: Either sweetened or unsweetened, your choice!
Cocoa Breton Shortbread Ingredients
This buttery shortbread forms the base of your coconut dome. Here’s what to have on hand:
- Unsalted butter: The foundation of any good shortbread.
- Powdered sugar: For smooth sweetness.
- Cocoa powder: Adds that delightful chocolate richness.
- All-purpose flour: The building block of your crust.
- Salt: Just a pinch to balance flavors.
Additional Garnishes and Essentials
Don’t forget to enhance the visual beauty and taste with these extras:
- Chocolate spread: A luscious layer that makes every bite heavenly.
- Cocoa nibs or shaved chocolate: For an elegant touch.
- Additional coconut flakes: A sprinkle on top adds texture and flair.
As you gather your ingredients, think about the joy of sharing this coconut dome with friends at a gathering or a cozy dinner at home. Want to explore more about the wonders of coconut? Check out Coconut Health Benefits. It’s a fantastic way to learn how delicious can also be nutritious!
Step-by-Step Preparation of Coconut Dome
Creating a delightful coconut dome brings together tropical flavors and a touch of sophistication in dessert-making. The process is rewarding and allows you to impress friends and family with your culinary skills. Let’s dive into the steps to craft this delicious creation!
Create the coconut mousse base
To get started, we want to make a rich and creamy coconut mousse that will serve as the heart of our coconut dome. You’ll need:
- 1 can of coconut milk (full-fat for best results)
- 1/2 cup of sugar
- 1 teaspoon of vanilla extract
- A pinch of salt
Instructions:
- In a mixing bowl, pour the coconut milk and whisk until smooth.
- Add in the sugar, vanilla extract, and salt. Stir until the sugar is fully dissolved. For a deeper taste, consider simmering this mixture on low heat for a few minutes to blend the flavors.
- Once mixed, let it cool to room temperature.
Tip: Choosing high-quality coconut milk is essential for a luxurious texture. Brands like Thai Kitchen or Aroy-D are popular choices.
Soften the gelatin and mix with coconut milk
The next step involves gelatin, which will help set your mousse. You’ll need:
- 2 tablespoons of gelatin powder
- 1/4 cup of cold water
Instructions:
- Sprinkle the gelatin over the cold water, allowing it to sit for about 5 minutes until it blooms.
- After blooming, gently heat the mixture on the stovetop or in the microwave until it dissolves completely. Be careful not to overheat it.
- Mix the dissolved gelatin into the coconut mousse, stirring well to combine.
Using gelatin will ensure your coconut dome maintains its shape while being deliciously creamy.
Whip the cream and combine all elements
Now, let’s add some airiness to our mousse. For this step, you’ll need:
- 1 and 1/2 cups of heavy whipping cream
Instructions:
- In a separate bowl, whip the cream until stiff peaks form.
- Gently fold the whipped cream into the coconut mousse mixture. Be careful not to deflate the whipped cream; you want to keep that fluffy texture.
- Once combined, set this aside to focus on the crust for your coconut dome.
Prepare the Cocoa Breton shortbreads
What’s a coconut dome without a delightful base? The Cocoa Breton shortbreads will add a perfect contrast to the light mousse. Here’s how to make them:
- 1 cup of unsalted butter, softened
- 1/2 cup of powdered sugar
- 1/4 cup of unsweetened cocoa powder
- 1 and 1/4 cups of all-purpose flour
- A pinch of salt
Instructions:
- Cream the butter and sugar until fluffy.
- Gradually mix in cocoa powder, salt, and flour until fully combined.
- Roll the dough into a log, wrap it, and refrigerate for about 30 minutes before slicing it into discs.
- Bake at 350°F (175°C) for 10–12 minutes until they are firm yet slightly soft in the center.
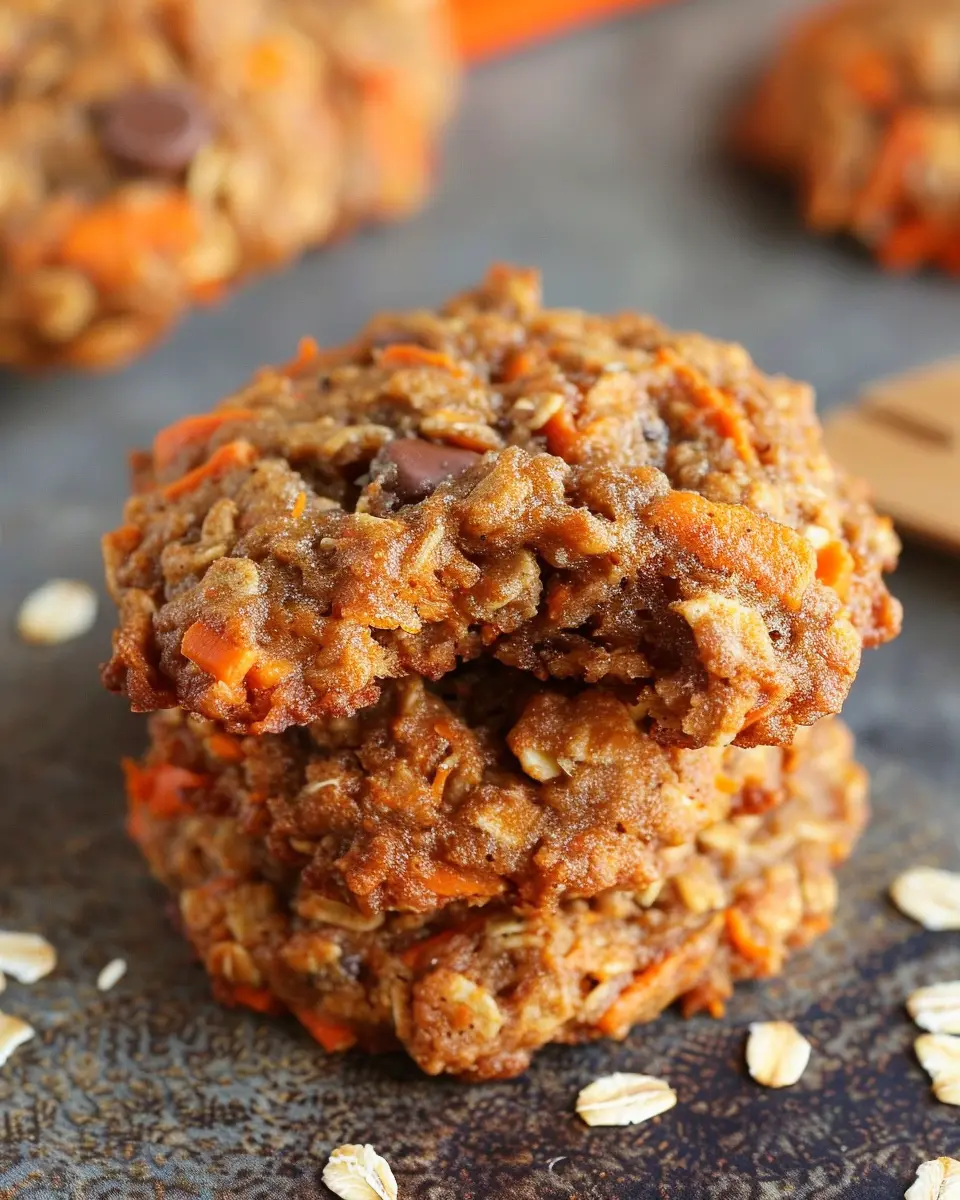
Feel free to switch it up by adding your favorite nuts or spices for a twist!
Mold the domes and combine layers
With your coconut mousse ready and the shortbreads baked, it’s time to mold and layer.
Instructions:
- Use a silicone dome mold if you have one or any round mold.
- Start by placing a shortbread disc at the base of the mold.
- Fill the mold with the coconut mousse, leaving a little space at the top.
- Add another shortbread layer on top.
This layering will create a lovely texture when you slice into the coconut dome!
Final assembly and chilling process
Now comes the moment of truth: assembly and chilling.
- Once all elements are combined, place your molds in the refrigerator for 4-6 hours, or ideally, overnight. This allows the mousse to set perfectly.
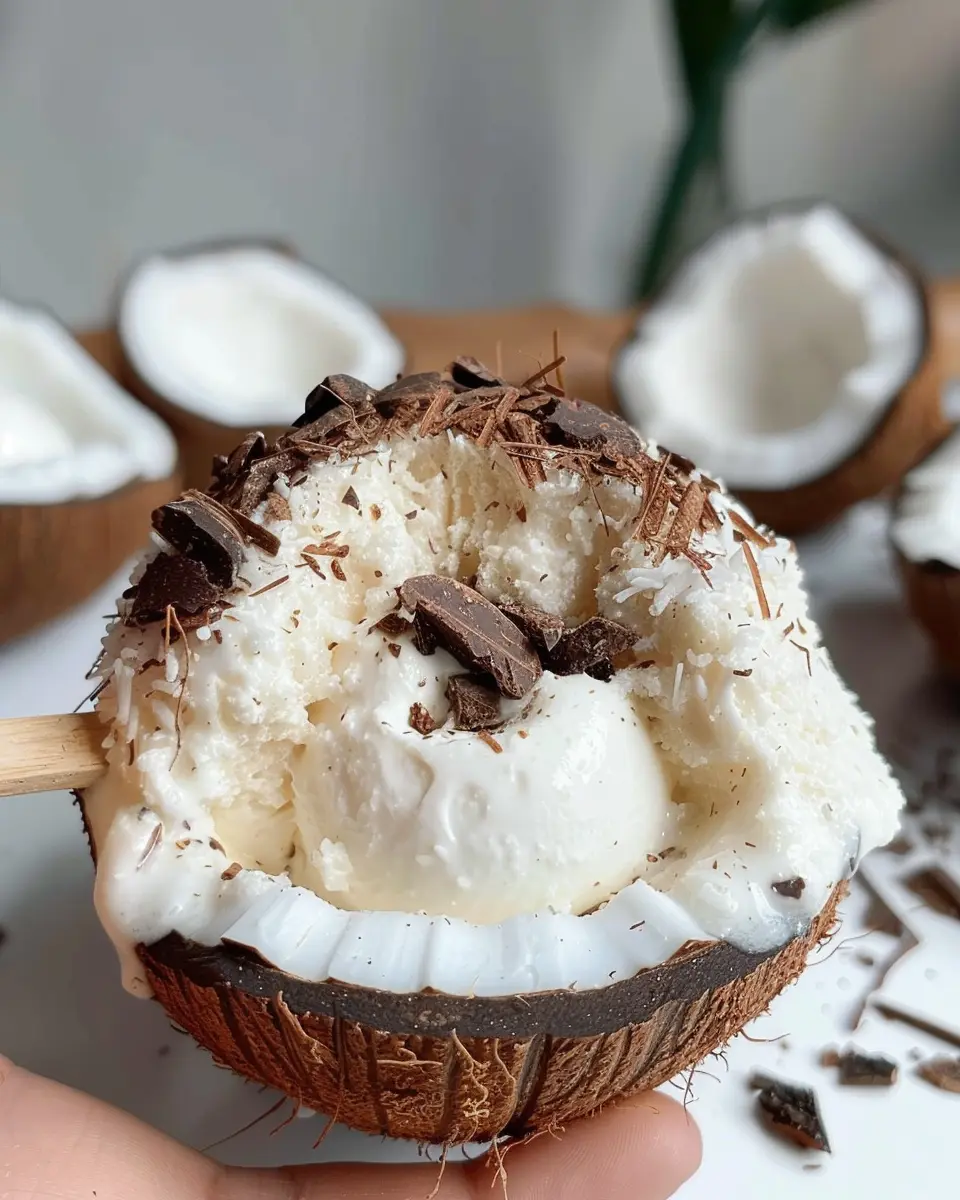
- When ready to serve, flip them out of the molds and garnish with fresh coconut, chocolate shavings, or a drizzle of chocolate sauce.
And there you have it – your elegant coconut dome! It’s ready to be enjoyed at a dinner party or just a slice of paradise for yourself. These steps will surely make your dessert shine, and who knows, you might just become the go-to dessert guru among your friends! For more tropical delights, check out epicurious.com for more inspiration on using coconut in various dishes.
Variations on Coconut Dome
Creating a coconut dome can be as versatile as your imagination allows! Let’s dive into a couple of delightful variations that will add unique twists to this classic dessert, perfect for impressing friends or simply treating yourself.
Tropical Fruit Coconut Dome
Why not take your coconut dome to the next level by incorporating vibrant tropical fruits? Imagine a luscious filling of mango, pineapple, or passion fruit nestled inside your dome. The brightness of these fruits perfectly complements the creamy coconut, creating a lively contrast that will make each bite an experience.
To achieve this:
- Choose your fruits: Try using fresh mango or juicy pineapple for a refreshing burst.
- Add layers: Consider making a fruit layer by blending your chosen fruits and lightly folding them into coconut cream before pouring into your dome mold.
- Garnish extravagantly: Top your coconut dome with more fresh fruit or a drizzle of citrus syrup for an eye-catching finish!
This tropical version not only looks stunning but also introduces refreshing flavors that transport you to a sun-kissed beach.
Vegan Coconut Dome Alternative
For those embracing a plant-based lifestyle, fear not—your own vegan coconut dome is just a recipe away! You can swap traditional ingredients for vegan-friendly options without sacrificing flavor.
- Coconut cream: Use full-fat coconut milk or cream to maintain that rich texture.
- Sweeteners: Maple syrup or agave nectar can be excellent alternatives to traditional sweeteners, providing that needed sweetness in a vegan-friendly way.
- Gelatin substitutes: Look for agar-agar, a seaweed-based alternative to gelatin, to help set the dome without animal-derived products.
This variation not only caters to vegan diets but also opens up the recipe to anyone looking to reduce their animal product intake. For more insights into vegan cooking, check out resources like Forks Over Knives.
Experimenting with these variations guarantees a delightful twist on your classic coconut dome! Enjoy crafting and tasting these creatively delicious treats.
Cooking Tips and Notes for Coconut Dome
Importance of Chilling Times
Chilling times are crucial when making your coconut dome. Allow your mousse to set adequately in the fridge so it achieves that perfect silky texture. A good rule of thumb is to chill it for at least 4 to 6 hours, ideally overnight. This not only helps the flavors meld but also allows the mousse to firm up, making it easier to assemble. Trust me, patience pays off when you slice into that beautifully formed dome!
Tips for Perfecting the Mousse Texture
Achieving the right mousse texture for your coconut dome can be a game changer. Here are some quick tips:
- Whip it Right: Make sure your cream is cold and whip it until you see soft peaks. Over-whipping can turn your mousse grainy, so watch closely!
- Use High-Quality Coconut Milk: Opt for full-fat coconut milk for that creamy richness. If you’re feeling adventurous, you can check out this guide on coconut milk varieties for more tips.
- Gentle Folding: When combining your whipped cream with the coconut mixture, use a gentle folding technique to maintain airiness—this ensures a light and fluffy mousse that’s simply divine.
By following these tips, you’ll create a coconut dome that wows every guest!
Serving Suggestions for Coconut Dome
Pairing with Fresh Fruits or Sauces
To elevate your coconut dome, consider pairing it with fresh fruits like pineapple, mango, or berries. Not only do these vibrant fruits add a beautiful pop of color, but their natural sweetness complements the creamy texture of the dome perfectly. You might also drizzle a homemade fruit sauce—like a passion fruit coulis or a raspberry reduction—over the dome for an extra touch of flavor. This combination not only enhances taste but also creates a visually stunning dessert that’s perfect for impressing guests.
Creative Plating Ideas for Entertaining
When it comes to presenting your coconut dome, don’t be afraid to get creative! Here are a few fun ideas to wow your guests:
- Layer it up: Serve slices of coconut dome on a bed of crushed graham crackers for a mini “beach” experience.
- Add some height: Stack two or three domes topped with contrasting sauces and fruits for an eye-catching tower.
- Elegant touches: Use mint leaves or edible flowers as garnishes to create a fresh, sophisticated look.
For more inspiration on dessert presentation, check out these expert tips. Remember, the way you plate your dessert can transform it from simple to spectacular!
Time Breakdown for Coconut Dome
When crafting your delicious Coconut Dome, it’s helpful to know how to allocate your time efficiently. Here’s a simple breakdown to guide you:
Preparation Time
Get ready for an exciting culinary adventure! The preparation time for your coconut dome is about 20 minutes. This includes gathering your ingredients, mixing, and assembling your creation.
Chilling Time
Patience is key in dessert making. After your dome is ready, it will need to chill for approximately 2 hours in the refrigerator. This setting period allows all those delightful flavors to meld beautifully.
Total Time
In total, you’re looking at approximately 2 hours and 20 minutes from start to finish. It’s a small investment of time for a stunning treat that’s sure to impress!
Looking for tips on presentation? Check out this article on dessert plating techniques. Creating eye-catching desserts can be just as much fun as making them!
Nutritional Facts for Coconut Dome
Calories per serving
When you indulge in a coconut dome, you’re savoring about 220 calories per serving. It’s not just a treat for your taste buds, but it fits nicely into a balanced diet without excessive calorie counts. Perfect for a mid-afternoon snack or dessert!
Sugar content
Each coconut dome contains approximately 12 grams of sugar. While sugar is something to watch out for, coconut brings more than just sweetness—it also adds flavor and texture that make every bite enjoyable.
Health benefits of coconut
Coconuts pack a punch when it comes to nutrition:
- Fiber-rich: Coconuts are high in fiber, which aids in digestion and promotes a feeling of fullness.
- Medium-chain triglycerides (MCTs): These healthy fats can boost energy levels and help improve metabolism.
- Antioxidant properties: The nutrients found in coconut can contribute to overall health and may reduce inflammation.
If you want to learn more about the health benefits of coconuts, check out this comprehensive guide on Healthline. Overall, enjoying a coconut dome can be both a delightful experience and a step towards better nutrition!
FAQs about Coconut Dome Delights
What can I use instead of gelatin?
If you’re looking to create a coconut dome without gelatin, you’ve got a couple of great options! Agar-agar, derived from seaweed, is a fantastic substitute. It sets up similarly and can be used in a 1:1 ratio. Another option is pectin, especially if you prefer a fruitier flavor; just be sure to follow the instructions on packaging for optimal results. For a vegan approach, look for plant-based gelatin alternatives like Carrageenan, which works wonders in desserts.
How do I store leftover coconut domes?
Storing leftover coconut domes is a breeze. Just place them in an airtight container to maintain their delightful texture and flavor. Keep them in the fridge, where they can last for about 3-5 days. For those extra sunny days, don’t hesitate to pop them in the freezer! Wrap each dome in plastic wrap and place them in a freezer-safe container. They can keep for up to 2-3 months—perfect for when a sweet craving strikes.
Can I make this dessert in advance?
Absolutely! Making coconut domes in advance is not only doable, it’s a smart strategy for busy schedules. You can whip these up a day or two ahead of time; just ensure they’re stored properly in the fridge. If you want to serve them with a fresh touch, consider adding toppings or garnishes right before serving to keep them looking their best. For a deeper dive into prepping desserts ahead of time, check out this helpful guide on dessert prep.
Happy cooking!
Conclusion on Coconut Dome Delights
The joy of homemade coconut domes and their impact on your culinary life
There’s something incredibly satisfying about crafting your own coconut dome delights in the kitchen. Not only do they taste heavenly, but they also offer a glimpse into exotic flavors that can transform your everyday dessert routine. Whether you’re serving them at a gathering or savoring a quiet night in, these treats are sure to impress.
Imagine the joy of sharing your creation, as you recount the steps you took to make them. Every bite is a reminder that with a little effort, you can elevate your culinary skills and bring a slice of paradise to your table. Embrace the experience and let your kitchen adventures shape your culinary journey! For more inspiration on creating delightful desserts, check out resources like Serious Eats.
PrintCoconut Dome Delight: An Easy, Indulgent Homemade Treat

A deliciously indulgent coconut dome treat that is simple to make at home.
- Prep Time: 15 minutes
- Cook Time: 20 minutes
- Total Time: 35 minutes
- Yield: 10 servings 1x
- Category: dessert
- Method: baking
- Cuisine: American
- Diet: vegetarian
Ingredients
- 2 cups shredded coconut
- 1 cup sweetened condensed milk
- 1 teaspoon vanilla extract
- 1/2 cup chocolate chips
Instructions
- Preheat your oven to 350°F (175°C).
- In a mixing bowl, combine shredded coconut, sweetened condensed milk, and vanilla extract until well mixed.
- Shape the mixture into dome shapes and place them on a baking sheet.
- Bake for 15-20 minutes until the tops are golden brown.
- While the domes are cooling, melt the chocolate chips in a microwave or double boiler.
- Dip the cooled coconut domes in the melted chocolate and place them back on the baking sheet.
- Let the chocolate set before serving.
Notes
- For a more intense chocolate flavor, use dark chocolate instead of milk chocolate.
- Feel free to add nuts or dried fruit to the coconut mixture for added flavor.
Nutrition
- Serving Size: 1 dome
- Calories: 200
- Sugar: 15g
- Sodium: 50mg
- Fat: 10g
- Saturated Fat: 8g
- Unsaturated Fat: 1g
- Trans Fat: 0g
- Carbohydrates: 28g
- Fiber: 2g
- Protein: 2g
- Cholesterol: 5mg
Keywords: Coconut Dome, dessert, homemade treat