Introduction to Garlic Bread Rolls
When it comes to comfort food, few things can rival the warm, buttery goodness of garlic bread rolls. These heavenly bites are like a hug from the inside, perfect for any occasion—from cozy dinners to festive gatherings. But why settle for store-bought when you can whip up a batch of these delightful rolls in the comfort of your own kitchen?
Why Homemade Garlic Bread Rolls Are a Must-Try
There’s something incredibly satisfying about homemade food, and garlic bread rolls are no exception. The moment you pull a tray of freshly baked rolls from the oven, the aroma wafting through your home is enough to make anyone weak in the knees. Do you remember the last time you enjoyed a restaurant-style garlic bread? It’s time to replicate that magic at home!
-
Control Over Ingredients: When you make your own garlic bread rolls, you have complete control over what goes in. Want to use fresh garlic instead of powder? Go for it! Prefer a touch of Italian herbs? That’s the beauty of homemade; you can tailor it to your taste. Plus, you can swap out ingredients based on dietary needs, ensuring a roll that everyone can enjoy.
-
Cost-Effective: Store-bought garlic bread can add up quickly, especially if it’s a frequent addition to your meals. Making them at home not only saves you money but also gives you the satisfaction of creating something delicious from scratch.
-
Perfect for Sharing: There’s something about good food that brings people together. Imagine breaking bread (or rolls, in this case) with friends and family. Whether it’s a relaxed weekend hangout or a spontaneous gathering, homemade garlic bread rolls are sure to impress and delight.
Plus, if you’re trying to impress someone special, nothing says “I care” quite like fresh, buttery garlic rolls. They pair beautifully with an array of dishes, from creamy pasta to hearty soups.
In need of more culinary inspiration? Explore this article on the benefits of baking at home to further immerse yourself in the exciting world of homemade delights. Each bite of your garlic bread rolls will surely remind you that good food comes from the heart.
Ingredients for Garlic Bread Rolls
When it comes to crafting the perfect garlic bread rolls, selecting the right ingredients is key. Here’s a breakdown of what you’ll need to achieve that delicious, buttery goodness everyone loves.
Essential ingredients for the perfect rolls
- All-purpose flour: A staple in any bread-making endeavor, all-purpose flour provides the right texture and structure for your rolls.
- Yeast: Fresh yeast, whether active dry or instant, helps your rolls rise beautifully. Just a packet will do!
- Garlic: Fresh garlic is a must for that punch of flavor. Minced or crushed, it ensures every bite is garlicky goodness.
- Butter: Use unsalted butter for brushing on your rolls; it enhances the richness without adding extra salt.
- Parsley: Freshly chopped parsley adds a pop of color and a fresh herbal note, making your garlic bread rolls even more appetizing.
- Sugar: Just a teaspoon helps activate the yeast and aids in browning for a lovely crust.
For a fun twist, consider adding grated cheese to the mixture. This blend of ingredients will ensure that your homemade garlic bread rolls are not just tasty, but a hit at any gathering. For more tips and tricks on making the perfect rolls, check out King Arthur Baking. Happy baking!
Step-by-step preparation of Garlic Bread Rolls
If you’re looking to add a delicious touch to your meals or simply enjoy a cozy night in with some garlic bread rolls, you’ve come to the right place! These soft, flavorful rolls are perfect for pairing with soups, salads, or even your favorite pasta dish. Let’s dive into the step-by-step preparation, ensuring it’s as simple and enjoyable as possible.
Gather and prepare the ingredients
Before you start, it’s essential to have everything you need on hand. Here’s what you’ll need to whip up those delectable garlic bread rolls:
- 2 cups all-purpose flour
- 1 teaspoon instant yeast
- 1 teaspoon sugar
- 1/2 teaspoon salt
- 1/2 cup warm water (around 110°F)
- 4 tablespoons unsalted butter
- 4 cloves garlic, minced (or more if you’re a garlic lover!)
- 2 tablespoons fresh parsley, chopped (optional for garnish)
Make sure your kitchen is tidy and ready for some cooking magic! Having your ingredients ready not only speeds up the process but also makes it more enjoyable.
Create the garlic-infused dough
In a large mixing bowl, combine the flour, yeast, sugar, and salt. Use a whisk to mix the dry ingredients thoroughly. In a small saucepan, melt the butter over low heat and add the minced garlic. Stir for about a minute until fragrant, but be careful not to burn it. Remove from heat and let it cool slightly.
Once cooled, pour the garlic-butter mixture into the bowl with the dry ingredients, and add the warm water. Stir with a spoon or a spatula until a sticky dough forms. The key here is to let the garlic mingle with the other flavors—trust me, it’s going to be amazing!
Kneading the dough to perfection
Now that your dough is mixed, it’s time to knead! Transfer the dough onto a lightly floured surface and begin working it with your hands. Knead for about 8-10 minutes until it becomes smooth and elastic. If you’re not sure how to knead properly, consider checking out this helpful kneading tutorial.
As you knead, feel free to sprinkle a bit of flour as needed to prevent sticking. This can be therapeutic, so don’t rush it—enjoy the process!
Shaping the rolls
After kneading, shape the dough into a ball and let it rest for about 10 minutes. This allows the gluten to relax, making it easier to shape. Divide the dough into 8 equal pieces, and then roll each piece into a ball. Place them on a baking sheet lined with parchment paper. They don’t have to be perfect; a rustic look adds to the charm!
Letting the rolls rise
Cover your shaped rolls with a clean kitchen towel or plastic wrap, and let them rise in a warm place for about 30-45 minutes, or until they’ve doubled in size. If you’re pressed for time, you can preheat your oven to the lowest setting, then turn it off and let the rolls rise in there. The warmth will help them rise beautifully!
Baking the rolls to golden perfection
Preheat your oven to 375°F. After the rolls have risen, pop them into the oven and bake for about 15-20 minutes or until they are golden brown and sound hollow when tapped on the bottom. The aroma that fills your kitchen will have everyone asking what’s cooking!
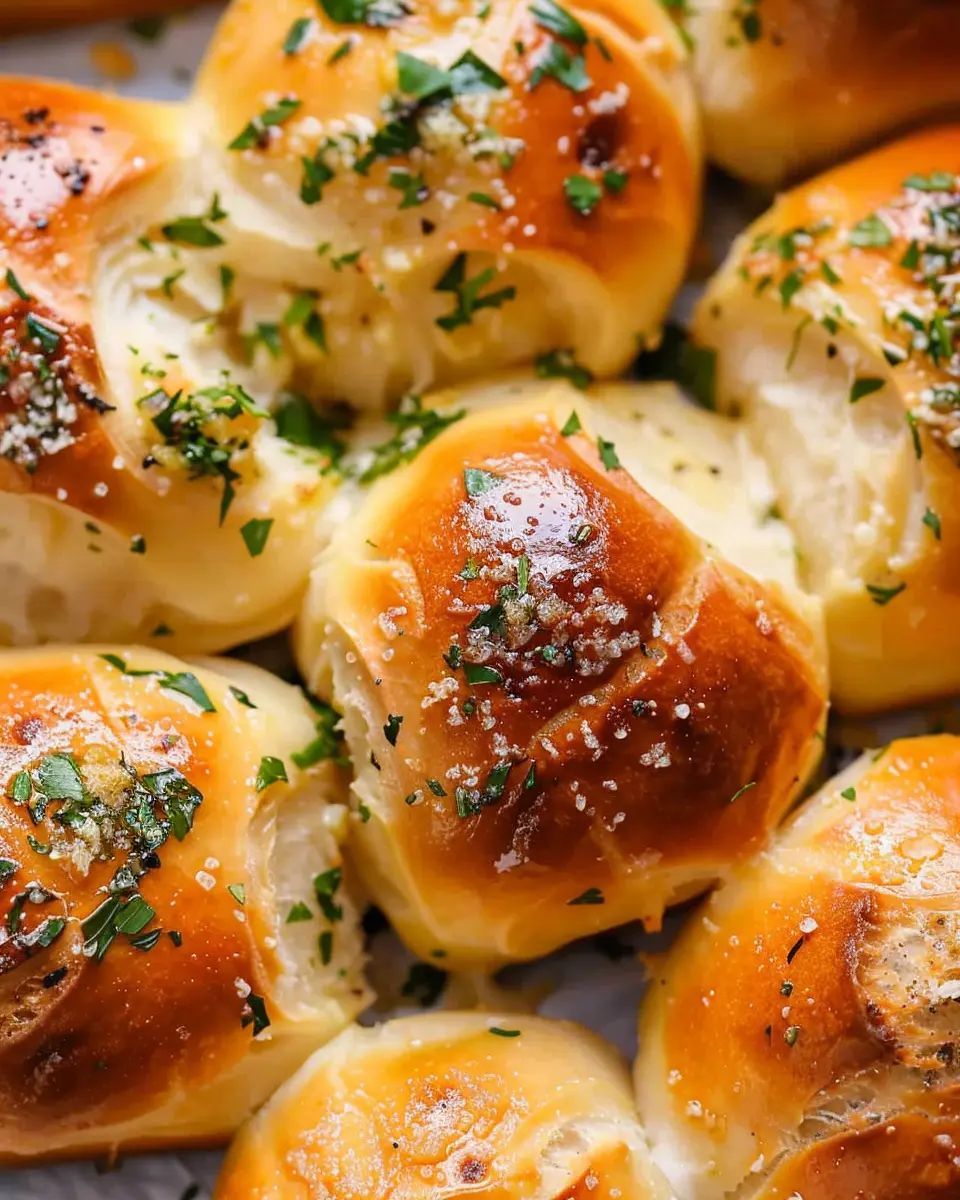
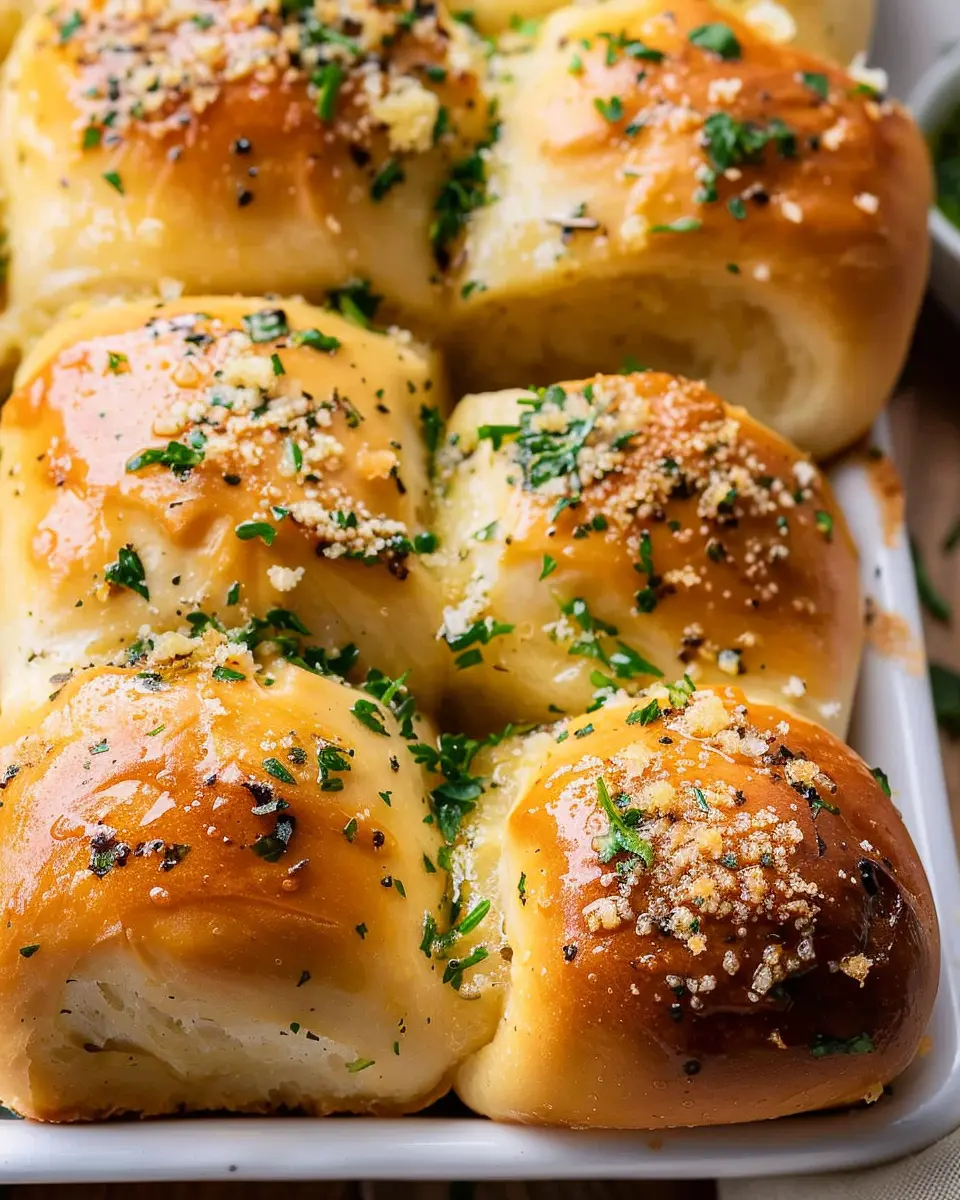
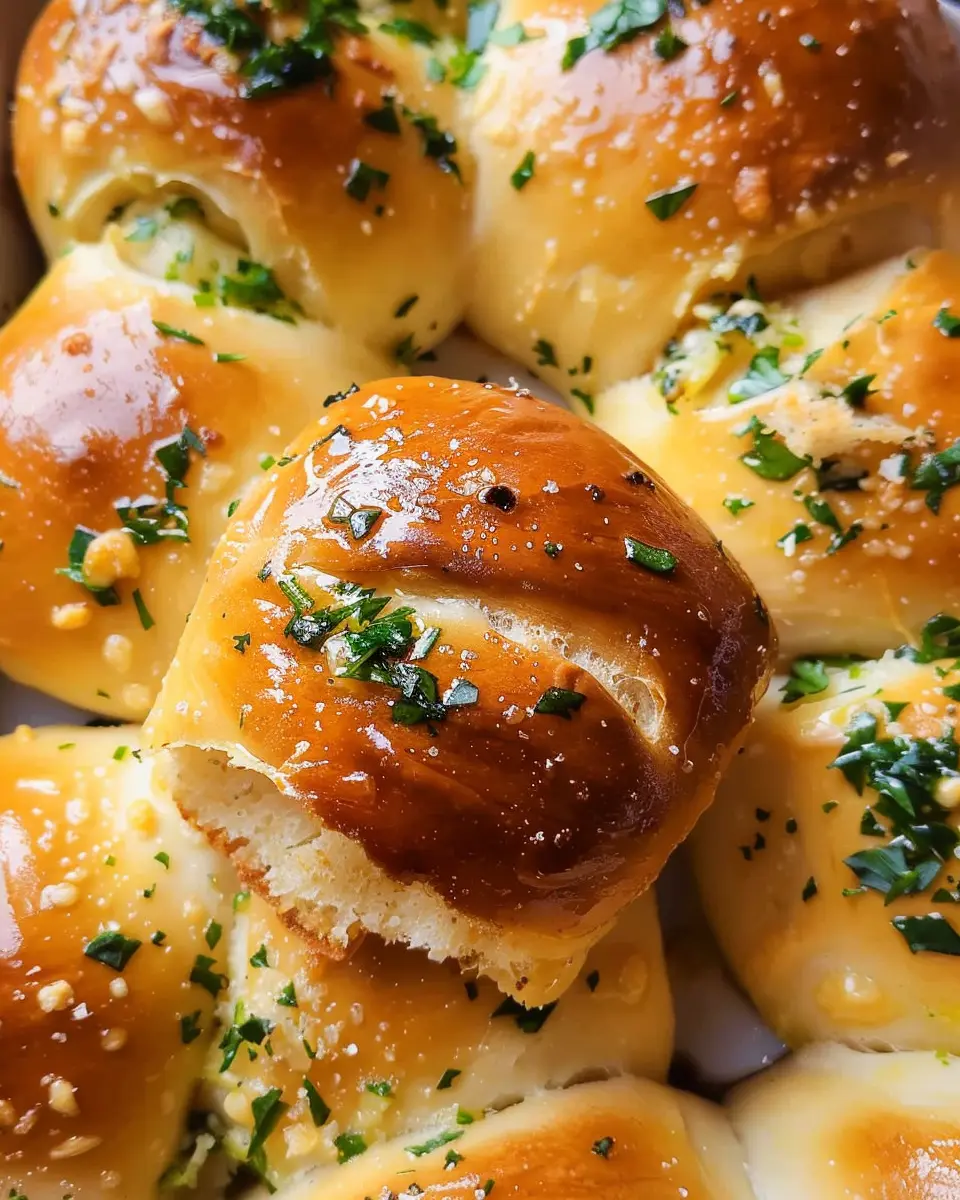
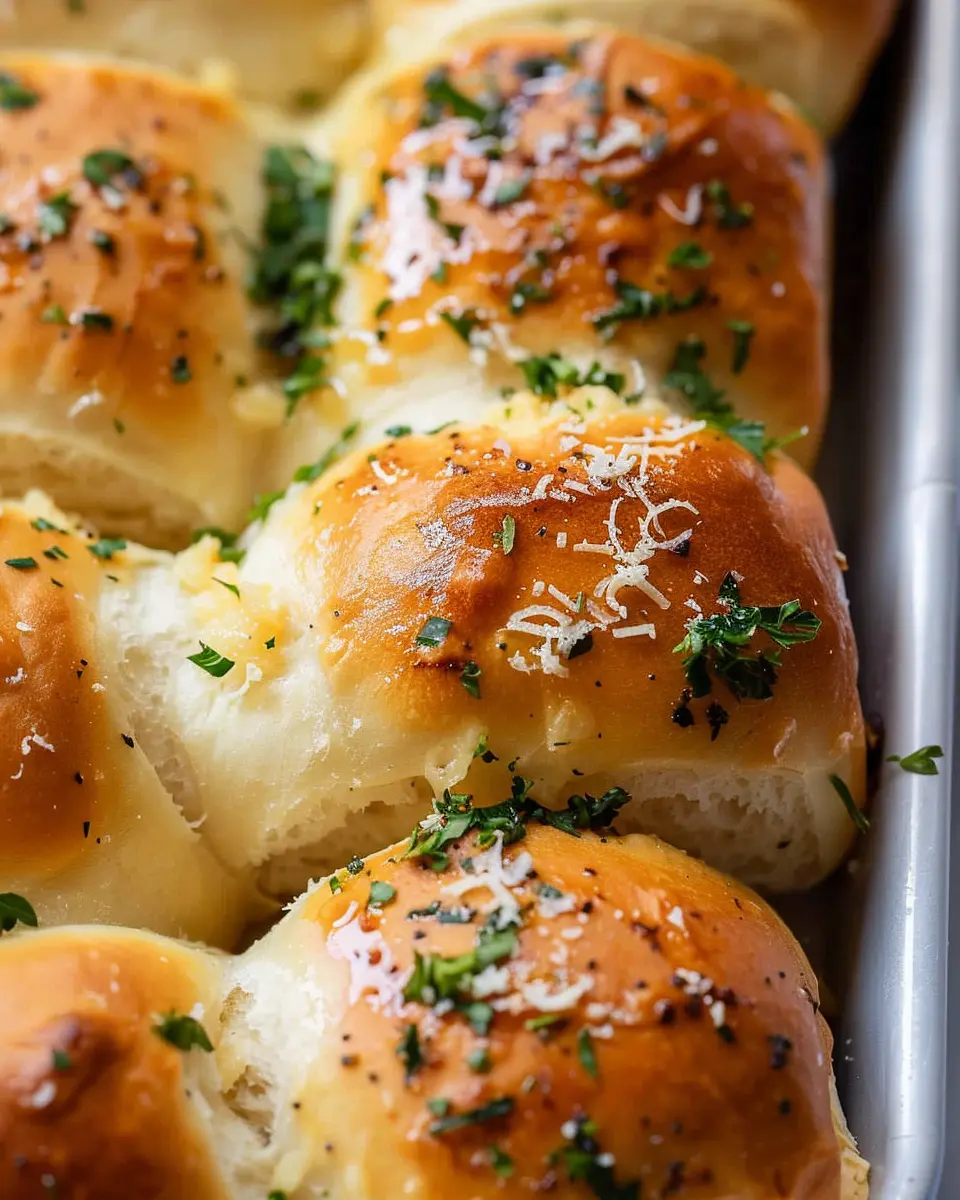
Adding the garlic butter finish
Once baked, remove the rolls from the oven and brush them generously with the remaining melted garlic butter. If desired, sprinkle some chopped parsley on top for that fresh touch. This finishing step elevates your garlic bread rolls from good to extraordinary!
Enjoy your garlic bread rolls fresh out of the oven. Trust me, these little bites of heaven will disappear quickly at any gathering. Ready to enjoy? Let me know how your rolls turn out!
Variations on Garlic Bread Rolls
Garlic bread rolls are deliciously versatile, allowing you to tailor them to your taste. Whether you’re planning a cozy dinner with friends or simply want to spice up a weeknight meal, these variations will keep things exciting.
Cheesy Garlic Bread Rolls
If you’re a fan of gooey, cheesy goodness, then these cheesy garlic bread rolls are a must-try. Simply take your basic garlic bread roll dough and fold in some shredded mozzarella or cheddar cheese before shaping the rolls. For an extra burst of flavor, you can sprinkle a touch of parmesan on top before baking. The result? Fluffy rolls with a delightful cheesy center that ooze comfort with every bite.
You might want to serve these with a side of marinara sauce for dipping — it’s a perfect pairing! Interested in more cheesy bread ideas? This guide on cheese pairings can spark some creativity.
Herb-Infused Garlic Rolls
For a fresh twist, consider making herb-infused garlic rolls. Just before you mix in the garlic butter, toss in some freshly chopped herbs like rosemary, thyme, or basil into your dough. The herbs not only complement the garlic beautifully but also add an aromatic flair that impresses guests.
You could even experiment with different herbs based on the season or your meal theme. Adding a touch of sea salt on top before baking can elevate the flavors even further. Feeling adventurous? Check out this article on herb uses in baking for more inspiration!
These variations of garlic bread rolls will not only enhance your table but also give you a reason to bring your friends together for a homemade feast. Whether it’s rich and cheesy or light and herby, there’s a roll for everyone!
Cooking tips and notes for Garlic Bread Rolls
Importance of measuring ingredients accurately
When it comes to baking, precision is key. Accurate measurements of flour, water, and yeast can make or break your garlic bread rolls. For example, a little too much flour can lead to dense rolls, while too little yeast might not produce that lovely rise we all crave. Using a kitchen scale can give you the best results. Just a tiny adjustment can turn your creations from good to absolutely mouthwatering!
Tips for working with yeast
Yeast can be a bit finicky, but fear not! It thrives on warmth and moisture. Ensure your water is lukewarm (not hot) when activating yeast; temperatures above 120°F can kill it. If you’re new to baking, consider using instant yeast—it requires no proofing and simplifies the process. Allow your dough to rise until it doubles in size, which is crucial for achieving fluffiness. Have any doubts? Resources like King Arthur Baking offer fantastic articles on yeast and baking fundamentals.
By paying attention to these details, you’ll ensure that your garlic bread rolls turn out fluffy, flavorful, and irresistible every single time. Happy baking!
Serving suggestions for Garlic Bread Rolls
Pairing with Soups and Salads
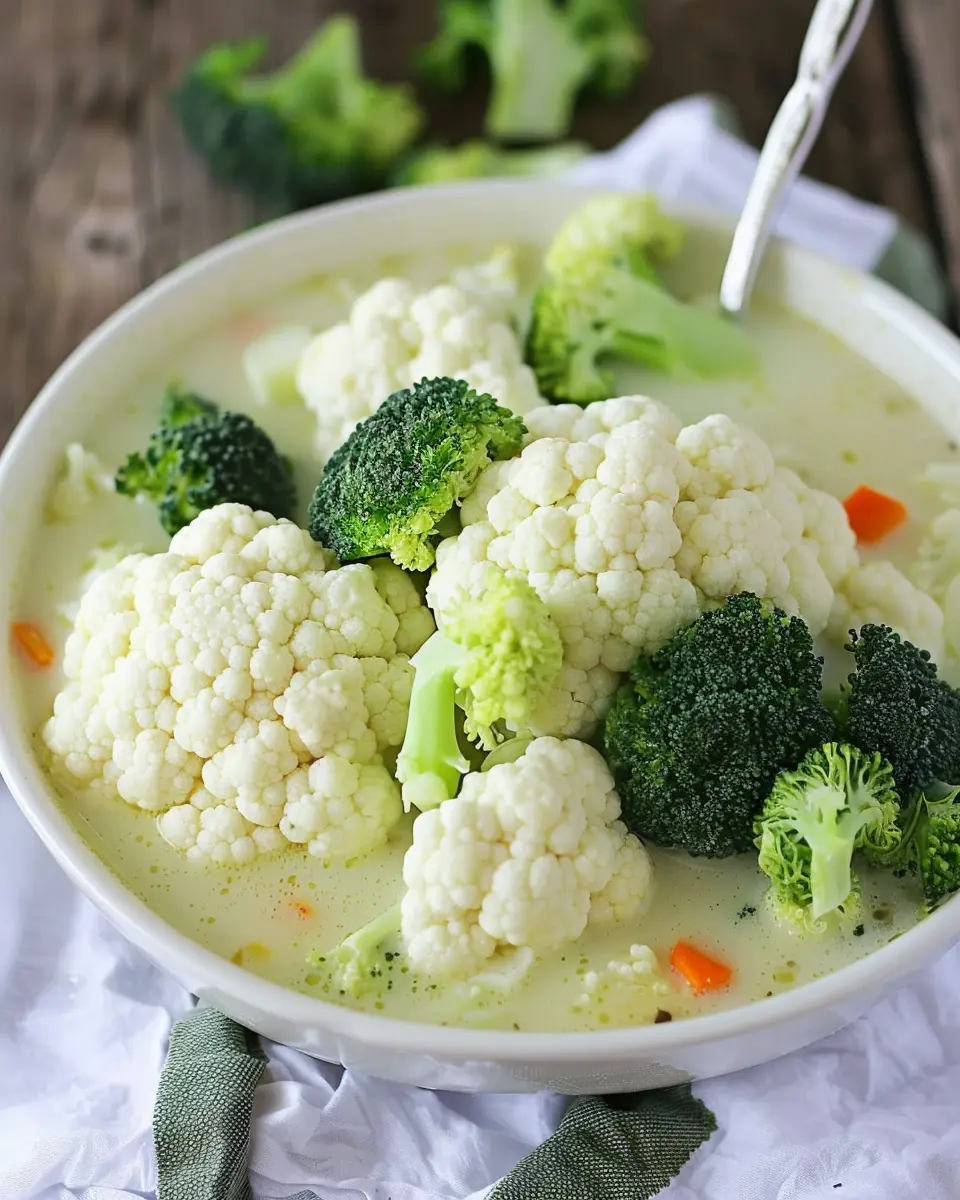
Garlic bread rolls are the perfect companion to a variety of soups and salads. Consider serving them alongside a rich tomato basil soup or a vibrant minestrone for a heartwarming meal. Their buttery garlic flavor complements the freshness of a simple green salad wonderfully. You can even make it a casual dinner by combining your favorite salad with a creamy dressing, such as ranch or yogurt-based, and enjoying it with these gourmet rolls. The contrast of textures—smooth and crunchy—adds a delightful twist.
Enjoying as a Snack or Appetizer
Want to elevate your snack game? Garlic bread rolls make a fantastic choice for a quick bite or an appetizer for gatherings. Slice them open, add a smear of herbed cream cheese or a blend of turkey bacon and chicken ham, and bake until warm. Voila! You have a mouth-watering, savory treat. For more serving inspiration, check out sources like Food Network or AllRecipes for creative dipping sauces that pair well with these rolls. Just picture this: friends gathering, laughter in the air, and warm rolls straight from the oven. What’s not to love?
Time breakdown for Garlic Bread Rolls
Preparation time
Creating garlic bread rolls starts with some thoughtful prep work. You’ll need about 20 minutes to gather your ingredients, mix the dough, and let it rise. Trust me, this step is crucial to achieving that perfect fluffy texture—it’s worth the wait!
Baking time
Once your rolls are ready, baking them will take approximately 15 to 20 minutes. You’ll want to keep an eye on them to ensure they turn a beautiful golden brown and fill your kitchen with that irresistible aroma.
Total time
In total, you’re looking at around 35 to 40 minutes, allowing for some hands-on time and the perfect bake. So, set aside a little time for these garlic bread rolls, and enjoy the delightful results. For extra tips on perfecting your rolls, check out sources like Bon Appétit for expert guidance!
Nutritional Facts for Garlic Bread Rolls
When you’re indulging in garlic bread rolls, it’s good to know what you’re putting in your body. Here’s a breakdown to help you make informed choices.
Calories per roll
Each garlic bread roll typically contains around 150-200 calories. It can be a delightful side to your main dish, giving you that satisfying flavor without overloading on calories.
Protein content
Surprisingly, garlic bread rolls provide a modest amount of protein, usually around 4-6 grams per roll. While they’re not a primary source of protein, they can complement a protein-rich meal or satisfy your cravings after a workout.
Sodium levels
Keep in mind that sodium levels can vary based on your recipe. On average, you can expect about 200-300 mg of sodium per roll. If you’re watching your sodium intake, consider using less salt or a low-sodium butter option.
For more in-depth nutritional information, check out the USDA FoodData Central here. Understanding these details can help you enjoy your garlic bread rolls without guilt, making your meals both tasty and balanced!
FAQs about Garlic Bread Rolls
How can I store leftover garlic bread rolls?
Storing leftover garlic bread rolls is simple! To maintain their deliciousness, let them cool to room temperature and then wrap them tightly in plastic wrap or aluminum foil. You can also place them in an airtight container to keep moisture out. Storing them this way at room temperature is best for enjoying them within 2 days, but make sure to check that they are not in a damp place, as this can affect their texture. If you’re looking for a longer storage solution, consider freezing!
Can I freeze garlic bread rolls?
Absolutely! Freezing garlic bread rolls is a fantastic option if you want to prolong their shelf life. Simply wrap them tightly in plastic wrap and then place them in a freezer bag or airtight container. They can be frozen for up to 3 months. When you’re ready to indulge, just pull them out and let them thaw in the fridge overnight, or on the counter for a few hours.
What’s the best way to reheat garlic bread rolls?
Reheating garlic bread rolls is easy and can be done in a few ways. The best method for preserving their original flavor and texture is to use the oven. Preheat it to 350°F (175°C), wrap the rolls in foil to prevent drying out, and heat for about 10-15 minutes. Alternatively, you can pop them in the microwave for about 15-30 seconds, but be cautious, as this might make them a tad chewy rather than crispy.
For extra flavor, consider adding a touch of melted butter or garlic oil before reheating! Enjoy those heavenly rolls any time! For more culinary tips, check out Serious Eats for helpful insights on all things food!
Conclusion on Garlic Bread Rolls
Summarizing the joy of homemade garlic bread rolls
As our culinary journey comes to a close, it’s clear that garlic bread rolls bring a unique joy to any table. The simple pleasure of warm, buttery rolls infused with aromatic garlic is something every home cook should experience. Whether serving them alongside a hearty pasta or enjoying them as a snack, these rolls are sure to spark joy and conversation.
Making them from scratch allows for endless customization. You can experiment with herbs, cheeses, or even the perfect dip, making each batch uniquely yours. For further inspiration, explore this guide on bread-making techniques, and don’t hesitate to share your own twists! Ultimately, homemade garlic bread rolls are a delicious way to elevate your meals and create lasting memories with loved ones.
PrintGarlic Bread Rolls: Easy, Homemade Delights for Everyone

Enjoy these easy homemade garlic bread rolls that everyone will love.
- Prep Time: 20 minutes
- Cook Time: 20 minutes
- Total Time: 40 minutes
- Yield: 12 rolls 1x
- Category: Bread
- Method: Baking
- Cuisine: American
- Diet: Vegetarian
Ingredients
- 2 cups all-purpose flour
- 1 packet active dry yeast
- 1 teaspoon sugar
- 1 teaspoon salt
- 1 tablespoon garlic, minced
- 1/4 cup butter, melted
- 1/2 cup warm water
- 1/4 cup fresh parsley, chopped
Instructions
- In a bowl, mix warm water, sugar, and yeast. Let it sit until frothy.
- Add melted butter, flour, salt, minced garlic, and parsley to the yeast mixture.
- Knead the dough until smooth and elastic.
- Cover and let rise until doubled in size.
- Shape into rolls and place on a baking sheet.
- Let rise again, then bake at 375°F for 15-20 minutes.
- Brush with additional butter and serve warm.
Notes
- For extra flavor, sprinkle additional garlic on top before baking.
- Try adding cheese for a cheesy garlic roll variation.
Nutrition
- Serving Size: 1 roll
- Calories: 150
- Sugar: 1g
- Sodium: 200mg
- Fat: 7g
- Saturated Fat: 4g
- Unsaturated Fat: 2g
- Trans Fat: 0g
- Carbohydrates: 18g
- Fiber: 1g
- Protein: 4g
- Cholesterol: 15mg
Keywords: Garlic Bread Rolls